English
 简体中文
简体中文
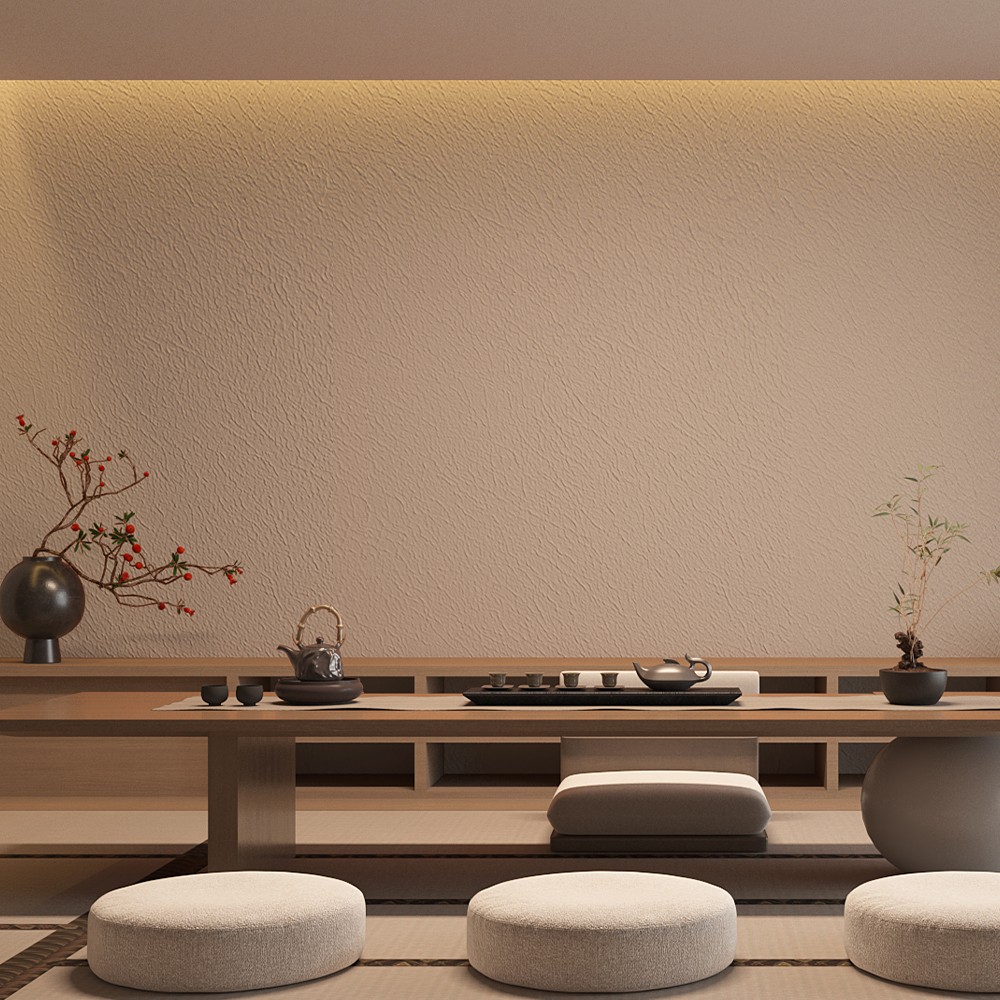
Skim textured walls have become a popular choice for homeowners and designers looking to balance texture and smoothness in interior spaces. But what exactly are they, and how do they differ from traditional textured walls or fully smooth walls? In simple terms, skim textured walls involve applying a thin layer of joint compound (or "skim coat") over existing textured walls to soften the texture, create a more uniform surface, or prepare the wall for painting, wallpapering, or other finishes. Unlike heavy texture removal— which can be messy and time-consuming—skim coating offers a middle ground: it retains subtle texture while eliminating harsh, outdated patterns like popcorn or orange peel, resulting in a modern, refined look.
#Why Choose Skim Textured Walls? Key Benefits
The appeal of skim textured walls lies in their versatility and practicality. First, they hide imperfections effortlessly. Old walls with dents, scratches, or uneven texture from previous paint jobs can be transformed with a skim coat, as the thin layer of compound fills in gaps and creates a consistent base. Second, they enhance aesthetic flexibility. Unlike fully smooth walls (which can feel sterile) or heavily textured walls (which may clash with modern decor), skim textured walls add depth without overwhelming a room. They work with nearly any design style, from minimalist to rustic, and pair well with neutral or bold paint colors. Third, they save time and money compared to complete texture removal. Stripping old texture often requires sanding, scraping, and repairing drywall, which generates dust and increases labor costs. Skim coating, by contrast, is a faster process that requires fewer tools and less cleanup. Finally, they improve paint adhesion. A properly skimmed wall provides a smooth yet slightly porous surface, allowing paint to grip better and reducing the risk of peeling or chipping over time.
#Preparing for Success: Tools and Materials
Before diving into skim coating, gathering the right tools and materials is critical to achieving professional results. Here’s what you’ll need:
- Joint compound: Opt for a lightweight, all-purpose joint compound (also called "drywall mud") for easy application. Avoid heavy-duty compounds, which are better for large repairs and may dry too quickly for skim coating.
- Trowels or knives: A 12-inch drywall knife is ideal for applying the skim coat, as its wide blade ensures even coverage. For smaller areas or edges, a 6-inch knife can help with precision.
- Sandpaper: Use fine-grit sandpaper (120–220 grit) for smoothing the dried skim coat. A sanding block or pole sander will make the job easier and reduce hand fatigue.
- Primer: A high-quality primer designed for drywall will seal the skim coat, prevent stains, and ensure paint adheres properly.
- Cleaning supplies: A damp sponge or cloth, mild detergent, and a vacuum with a brush attachment to remove dust and debris from the wall before starting.
- Protective gear: Safety glasses, a dust mask, and gloves to protect against dust and compound residue.
#Step-by-Step Guide to Skim Coating Textured Walls
Skim coating may seem intimidating, but with the right technique, even DIYers can achieve great results. Follow these steps for a smooth, professional finish:
##1. Prepare the Wall Surface
Start by cleaning the wall thoroughly. Wipe away dirt, grease, or cobwebs with a damp cloth and mild detergent, then let it dry completely. Next, inspect for loose texture or peeling paint—scrape off any flaking material with a putty knife and sand the area smooth. If there are large holes or cracks, fill them with joint compound, let it dry, and sand before proceeding. Finally, vacuum the wall and surrounding area to remove dust; any remaining debris will show through the skim coat, ruining the finish.
##2. Mix the Joint Compound
Most joint compounds come premixed, but if using powder, follow the manufacturer’s instructions to mix it with water until it reaches a smooth, creamy consistency—similar to thick pancake batter. Avoid overmixing, as this can introduce air bubbles, which will cause imperfections in the skim coat. Let the mixed compound sit for 5–10 minutes to allow air bubbles to rise and pop.
##3. Apply the First Skim Coat
Dip the edge of your 12-inch knife into the joint compound, loading it with a thin, even layer (about 1/16–1/8 inch thick). Hold the knife at a 45-degree angle to the wall and apply the compound in long, overlapping strokes, working from the top of the wall to the bottom. Keep the pressure consistent—too much will remove compound, too little will leave uneven patches. Focus on covering the entire wall, but don’t worry about perfection yet; the first coat is meant to fill in texture and create a base. Let the first coat dry completely (this takes 24–48 hours, depending on humidity).
##4. Sand and Inspect
Once dry, sand the wall lightly with fine-grit sandpaper to smooth any ridges or bumps. Use a sanding block to maintain even pressure, and vacuum up dust afterward. Inspect the wall for missed spots or low areas—these will appear as darker patches when dry. Mark these areas with a pencil; they’ll need a second skim coat.
##5. Apply a Second Coat (If Needed)
For walls with heavy texture or significant imperfections, a second skim coat is often necessary. Repeat the application process, but this time, use slightly less compound and focus on the marked areas. Feather the edges of the second coat into the first to avoid creating new ridges. Let it dry completely, then sand again with 220-grit sandpaper for a ultra-smooth finish.
##6. Prime and Finish
Once the skim coat is dry and sanded, the wall is ready for priming. Apply a coat of drywall primer with a roller, working in small sections and overlapping strokes to avoid streaks. Let the primer dry according to the manufacturer’s instructions, then follow with your chosen finish—paint, wallpaper, or even a textured paint additive for extra depth.
#Common Issues and How to Fix Them
Even with careful preparation, skim coating can hit snags. Here’s how to troubleshoot:
- Bubbles in the skim coat: Caused by air trapped between the wall and compound, bubbles often occur if the wall wasn’t cleaned properly or if the compound was applied too thickly. To fix, pop the bubble with a utility knife, sand the area, and reapply a thin layer of compound.
- Uneven texture: If the wall feels bumpy after sanding, the compound may have been applied with inconsistent pressure. Sand the rough spots with fine-grit sandpaper, then apply a thin "touch-up" coat to smooth them out.
- Cracking: Dry, brittle cracks are usually due to the compound drying too quickly (common in low-humidity environments). Mist the wall lightly with water before applying the second coat to slow drying, or use a retarder additive in the compound.
#Maintaining Skim Textured Walls
Skim textured walls are low-maintenance, but proper care will keep them looking fresh. To clean, wipe with a soft, damp cloth—avoid abrasive sponges or harsh cleaners, which can scratch the surface. For minor scuffs or marks, touch up with a small amount of matching paint (store leftover paint in a sealed container for this purpose). If the wall develops a larger hole or crack, fill it with spackle, sand smooth, and repaint the area to blend with the rest of the wall.
#Final Thoughts
Skim textured walls offer a smart, stylish solution for updating outdated or damaged walls. With their ability to hide imperfections, enhance design flexibility, and save time and money, they’re a favorite among homeowners and contractors alike. Whether you’re renovating a bathroom, living room, or bedroom, the process is approachable even for beginners—all it takes is the right tools, patience, and attention to detail. So why not give it a try? With a little effort, you can transform your walls from drab to fab, creating a space that feels polished, inviting, and uniquely yours.