English
 简体中文
简体中文
Textured walls, once a staple of 90s and early 2000s home design, are increasingly falling out of favor. Today, many homeowners crave the clean, sleek look of smooth walls—they’re easier to clean, pair better with modern decor, and provide a blank canvas for paint, wallpaper, or artwork. If you’re ready to transform your textured walls into a smooth surface, you don’t need to hire a pro. With the right tools, a little patience, and this step-by-step guide, you can achieve a professional-looking finish in just a few days.
#Why Smooth Out Textured Walls?
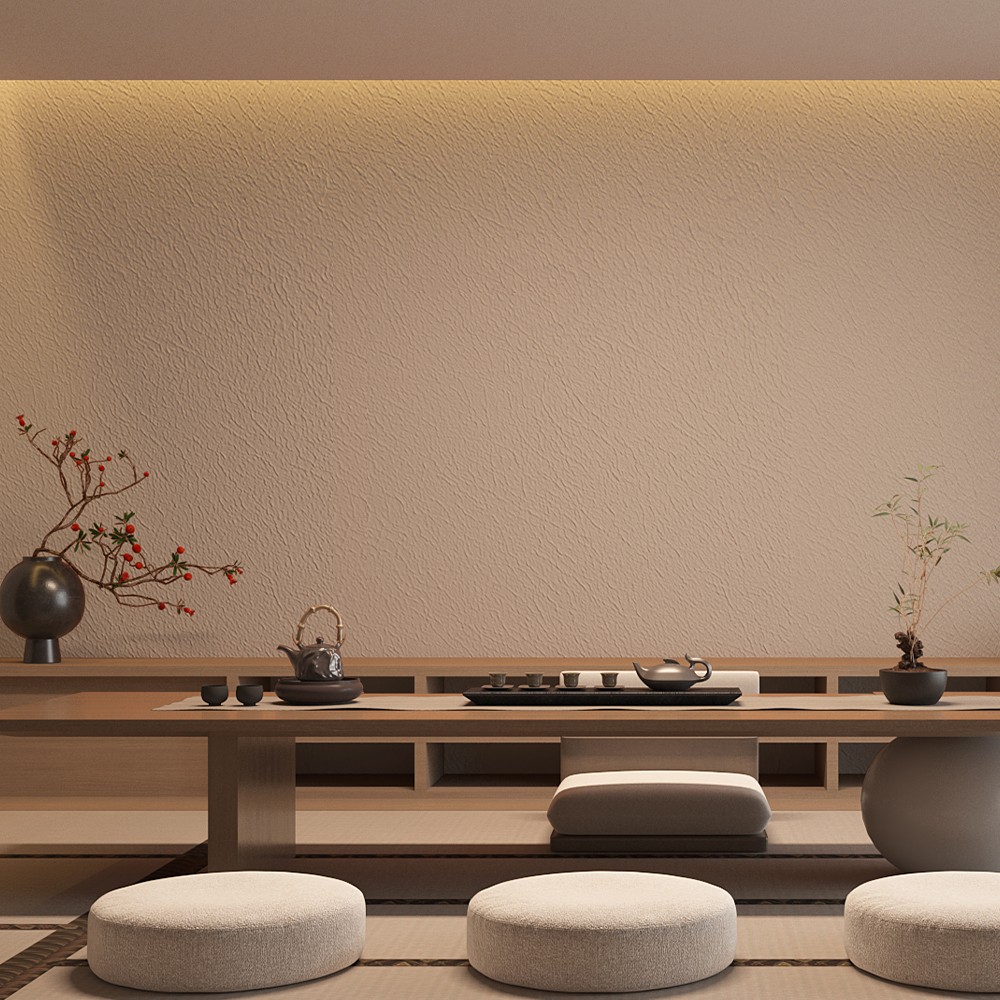
Before diving into the “how,” let’s cover the “why.” Textured walls (think orange peel, popcorn, or knockdown textures) can make a room feel dated. They trap dust and grime, making cleaning a chore, and they often clash with contemporary design trends. Smooth walls, on the other hand, offer versatility: they work with bold accent walls, minimalist decor, or even subtle texture paints. Plus, they reflect light better, making rooms feel brighter and more spacious.
#Tools You’ll Need
Gathering the right tools upfront will save time and frustration. Here’s what you’ll need:
- Joint compound (drywall mud): Choose a lightweight, all-purpose compound for easy application and sanding.
- Mud pan: To hold the joint compound while working.
- Drywall knives: A 6-inch knife for detail work and a 12-inch knife for larger areas.
- Sandpaper: 120-grit for initial sanding and 220-grit for a final smooth finish.
- Sandblock or pole sander: For even sanding (a pole sander reduces arm strain).
- TSP or mild detergent: To clean the wall before starting.
- Sponge or cloth: For wiping down walls.
- Painter’s tape: To protect trim, baseboards, and outlets.
- Drop cloths: To catch dust and debris.
- Primer and paint: Use a high-adhesion primer and your chosen wall paint.
- Safety gear: Dust mask, goggles, and gloves.
#Step 1: Prep the Wall
Proper prep is key to a smooth finish. Start by removing all wall decor, outlet covers, and switch plates. Use painter’s tape to mask off trim, baseboards, and ceilings to avoid getting compound on them. Lay drop cloths on the floor to catch dust from sanding later.
Next, clean the wall thoroughly. Mix a solution of warm water and TSP (or mild detergent) and wipe down the wall with a sponge to remove dirt, grease, and cobwebs. Let the wall dry completely—any moisture trapped under the joint compound can cause bubbles or mold later.
Inspect the wall for damage. Fill small holes or cracks with spackle, and use a putty knife to smooth it flush with the wall. For larger damage (like deep cracks or holes), use a patching compound instead. Let all repairs dry completely before moving on.
#Step 2: Apply the First Coat of Joint Compound
Joint compound is the secret to smoothing textured walls. It’s a thick, paste-like material that fills in texture and creates a flat surface. Start with a thin coat—thick coats take longer to dry and are more likely to crack.
Using a 12-inch drywall knife, scoop a small amount of compound onto the knife. Hold the knife at a 45-degree angle to the wall and spread the compound in a thin, even layer, working from the top of the wall to the bottom. Apply the compound in one direction (e.g., horizontal strokes) to ensure consistency. Cover the entire wall, but don’t worry about perfection yet—this is just the first coat.
Let the first coat dry completely. Drying time depends on humidity and temperature, but plan for 24 hours. Check the compound: it should be hard to the touch and no longer tacky.
#Step 3: Sand the First Coat
Once dry, sand the wall to smooth out ridges and uneven spots. Use 120-grit sandpaper on a sandblock or pole sander. Sand in a circular motion, applying light pressure—too much pressure can sand through the compound and expose the texture underneath.
Wipe away dust with a dry cloth or vacuum with a brush attachment. Inspect the wall: you’ll likely see areas where the texture is still visible. That’s normal—we’ll fix that with a second coat.
#Step 4: Apply the Second Coat (and Third, if Needed)
The second coat is where the magic happens. Apply another thin layer of joint compound, but this time, use vertical strokes (perpendicular to the first coat). This cross-hatching technique helps fill in any remaining texture and creates a smoother surface.
Let the second coat dry for another 24 hours, then sand again with 220-grit sandpaper for an ultra-smooth finish. Wipe away dust and inspect. If the wall still has visible texture, apply a third coat using diagonal strokes, sand, and repeat until the wall is completely smooth. Most walls need 2–3 coats, but heavily textured walls (like popcorn texture) may need 4–5.
#Step 5: Prime and Paint
Once the wall is smooth and dust-free, it’s time to prime. Use a high-adhesion primer to help the paint bond to the joint compound. Apply primer with a roller, working in small sections and overlapping slightly to avoid streaks. Let the primer dry according to the manufacturer’s instructions (usually 4–6 hours).
Finally, paint the wall with your chosen paint. Use a roller with a ¼-inch nap for a smooth finish, and apply 2 coats for even coverage. Let the first coat dry, then sand lightly with 220-grit sandpaper (this removes any roller marks) before applying the second coat.
#Pro Tips for Success
- Work in small sections: Focus on 4x4-foot areas to avoid the compound drying before you can smooth it.
- Keep tools clean: Wipe mud knives with a damp cloth between coats to prevent dried compound from marring the surface.
- Don’t rush drying: Skipping drying time leads to cracks and unevenness. Use a fan to speed up drying if needed, but avoid direct heat (like a hair dryer), which can cause the compound to dry too quickly and crack.
- Sand between coats: Even if the wall looks smooth, sanding removes tiny imperfections that will show through paint.
#Final Thoughts
Smoothing out textured walls is a DIY project anyone can tackle with the right tools and patience. By following these steps, you’ll transform rough, outdated walls into a sleek, modern surface that elevates your space. Whether you’re prepping for a home sale or just updating your decor, a smooth wall is a timeless choice that pays off in beauty and functionality.